If you’re getting no heat out of your vents and a sweet smell in the air, then it’s time to find out what’s going on! This means there is most definitely a coolant leak someplace. When you’re in the middle of driving and all you get out of your vents is cool air until you go outside and then smell the coolant-it is pretty much guaranteed there is a coolant leak. A glance underneath the car may show a coolant dripping onto the ground. But that’s not always the case!
Learn more about some common areas to check if you suspect a coolant leak so you can help diagnose it correctly. One of the best parts is that you can do it from almost anywhere (especially in the Rogers, AR, area!), and we will help provide tips for how to install the parts so you’ll know exactly what to expect.
Diagnosing A Coolant Leak
Now, let’s get into the diagnostic process. Since we’ll be working with the cooling system and coolant, remember to wear hand and eye protection throughout the entire process.
Start with the hood open and take a quick look at the front of the engine compartment where the radiator is located. The radiator is one of the key components to inspect.
Radiator or Hoses: Troubleshooting Coolant Leaks
When attempting to locate a coolant leak, the first areas normally suspected are the radiator and hoses. First, check your radiator cap because that can leak, too. It has a valve in it that will open when the pressure gets high enough. After a while, this valve can wear out. Take a moment to check the top of the radiator for any crusty residue, which indicates that there might be a problem with the radiator cap.
Before you open anything, make sure everything is cool to the touch. Remember, hot components can be under pressure, and you want to avoid any hot coolant splashing onto your face or skin.
Once you’ve ensured it’s safe, examine the seal on the bottom of the radiator cap. If the seal shows signs of wear, like a crease, you should consider replacing the radiator cap. It’s a relatively inexpensive part, and it’s a good idea to swap it out whenever you’re working on the cooling system.
Next, let’s take a quick look inside the radiator. Depending on your vehicle, you might be able to see directly into the radiator. Ideally, you want to spot coolant within. If you see only a few drips or no coolant at all, then you have a leak, and low coolant levels can cause overheating of the engine. You will also likely get little or no heat through the vents in your car, as occurs when coolant is not being circulated through the heater core behind the dash.
While you’re checking things out, take a look at the top of the radiator. If you have a small coolant leak, you will see some crusty stuff around the radiator cap. Further down this seam between the plastic and aluminum of the radiator, there should be a seal.This area can sometimes be tricky to see because of the cooling fans, but try to get a good look from the top and bottom.
Before heading under the vehicle, take a moment to check where the upper radiator hose connects to the radiator. Any connection point within your cooling system is susceptible to leaks, especially if secured with a clamp. If you have an engine cover, it makes sense to remove it for a better view of the engine.
Be sure to examine the front of the engine as much as you can. Look for cooling hoses and any thermostat housing in that area. The other common place for a thermostat housing to leak is due to a gasket between the housing and the engine where they mate together. If you have a leak there, you’ll usually see some crusty stuff forming around the edges.
Seals or Gaskets
Pay close attention to the seals or gaskets, particularly where the hose connects to the housing. Remember that your water pump has a pretty critical job – it pumps coolant through your system. There is a seal between the engine block and the water pump that you will want to check out.
Believe it or not, there actually is another place on the water pump that will leak, and that is the weep hole! The weep hole is normally located at the bottom of the water pump and usually is near where the shaft comes out. Normally, around that area, there is a weak spot, so if you have some crusty build-up there or notice a noticeable leak, that would be your indication to replace the water pump.
While you’re in there checking out your engine, take a look at your head gaskets and your intake gaskets, too. If you see any fluid dripping down the outside of the engine, you have an external leak. But be careful, for you may just have an internal leak where the coolant can actually enter the engine and burn within the combustion chamber. In that case, strangely colored smoke coming out of the tailpipe is a sure and clear indication that something serious needs to be dealt with immediately.
Pressurizing To Find Leaks
If you have a coolant-related problem, you’ll want to get a specialty tool like a pressure tester. This pressurizes the system so you can find leaks more easily. But not everyone has one of these lying around.
Now, work your way underneath the front of the vehicle and take a look. Oh, what’s that? A constant drip! That right there must be the source of the problem!
Pressurizing can help you find leaks! It sounds like you may definitely have a serious issue with the radiator itself, and you’ll want to replace it since it can’t be fixed. However, don’t stop with the first leak you find—there could be other leaks present as well.
Now that you’re under the vehicle, you’ll have a different perspective for spotting any leaks, especially along the engine or any of the coolant-related hoses or connections. Every vehicle varies a bit, but for this one, start by removing the radiator cap, which you should have already done. After draining the cooling system, you’ll want to remove everything around the radiator that needs replacing.
Fortunately, this vehicle is fairly simple—you won’t need to remove the AC condenser or the bumper cover like on some models. However, you will need to take out the cooling fan. Once that’s out of the way, you can proceed to detach any hoses in the area.
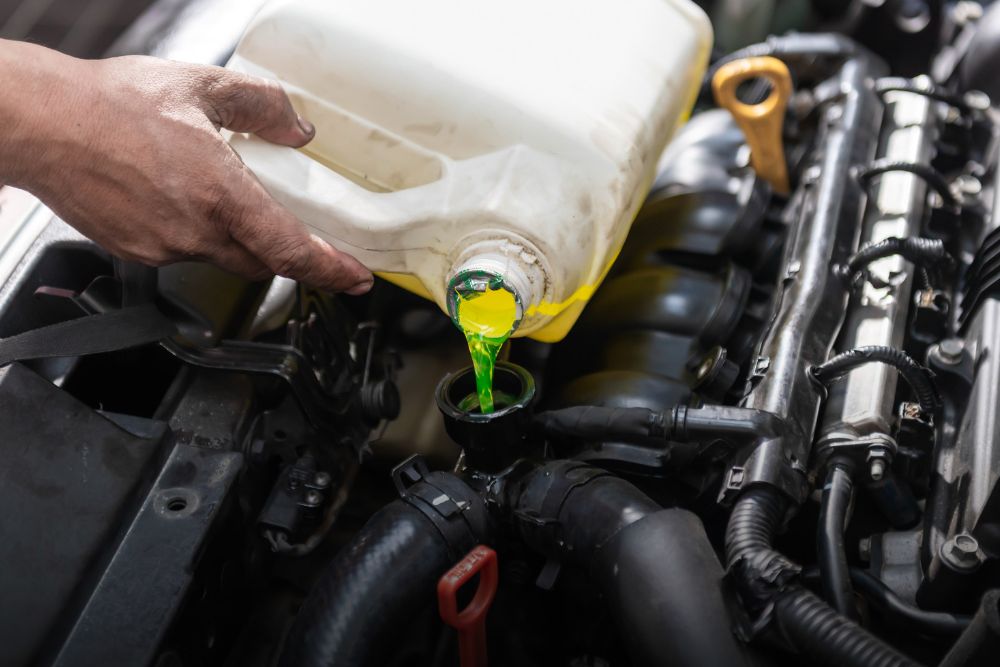
To replace the radiator, start by preparing to slide the old one up and out of its position. With the new radiator in place, fill the system with the type of coolant the manufacturer specifies—again, making sure it’s 50/50. Don’t use an over- or underdiluted mixture to avoid future problems.
Choose HCS Auto Repair
When you’re considering making repairs to your vehicle, it’s essential that you don’t forget to road test it afterward. This step is crucial, as it allows you to check for any leaks or unusual noises that might indicate a problem. Take your time to inspect every aspect of the vehicle during your drive, ensuring everything feels and sounds right.
If you find that you don’t have the time to carry out these repairs yourself or simply want the peace of mind that comes from knowing the job is being handled by professionals, don’t hesitate to swing by our shop at HCS Auto Repair today. You can also give us a call to discuss any concerns or schedule an appointment. We’re here to help you ensure your vehicle is in top shape! (479) 751-8232